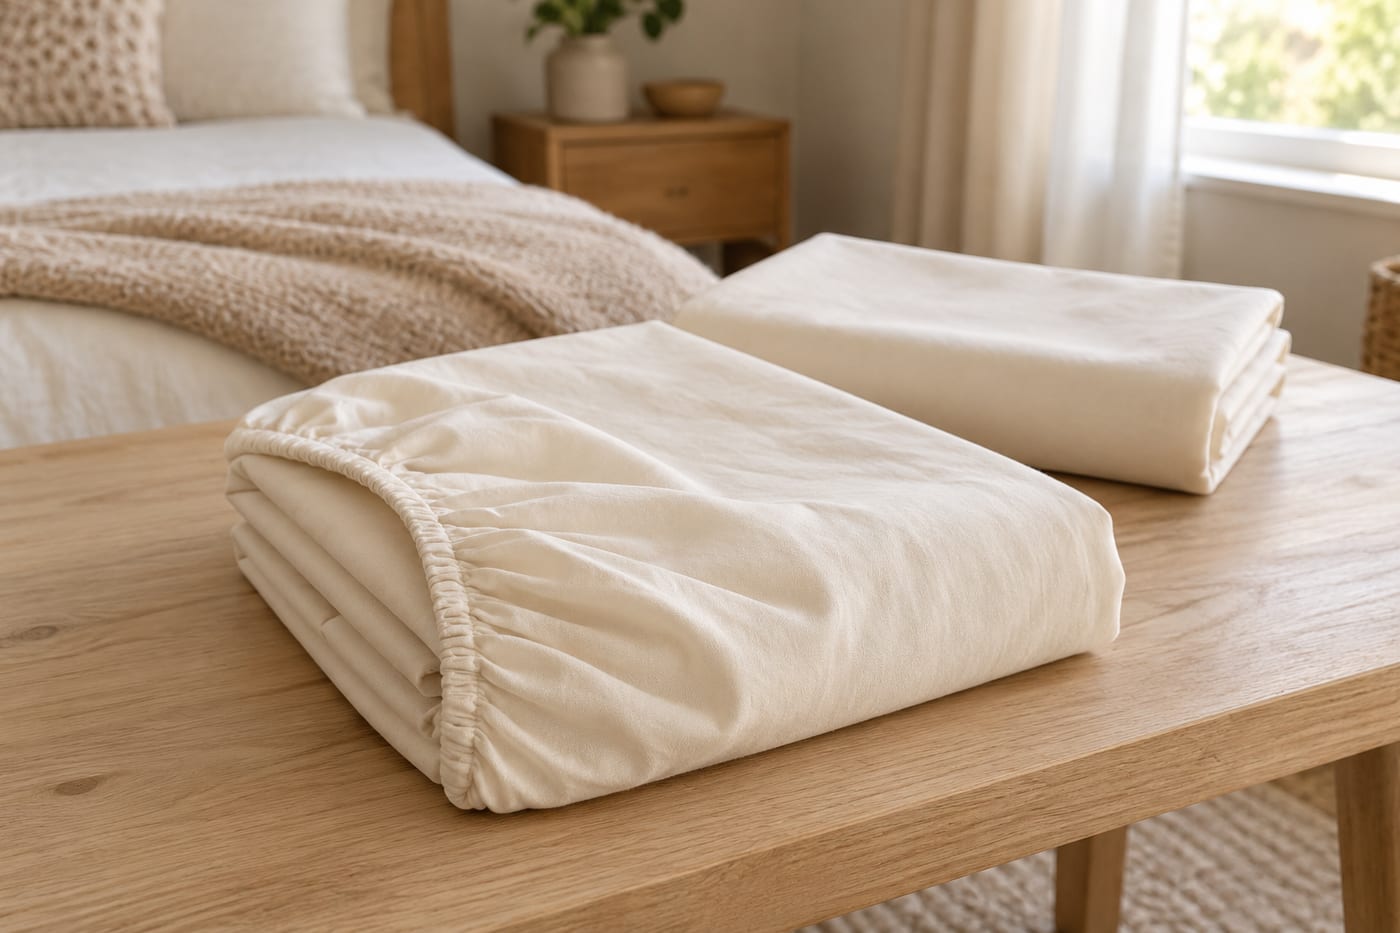
Why a fitted sheet is harder to fold
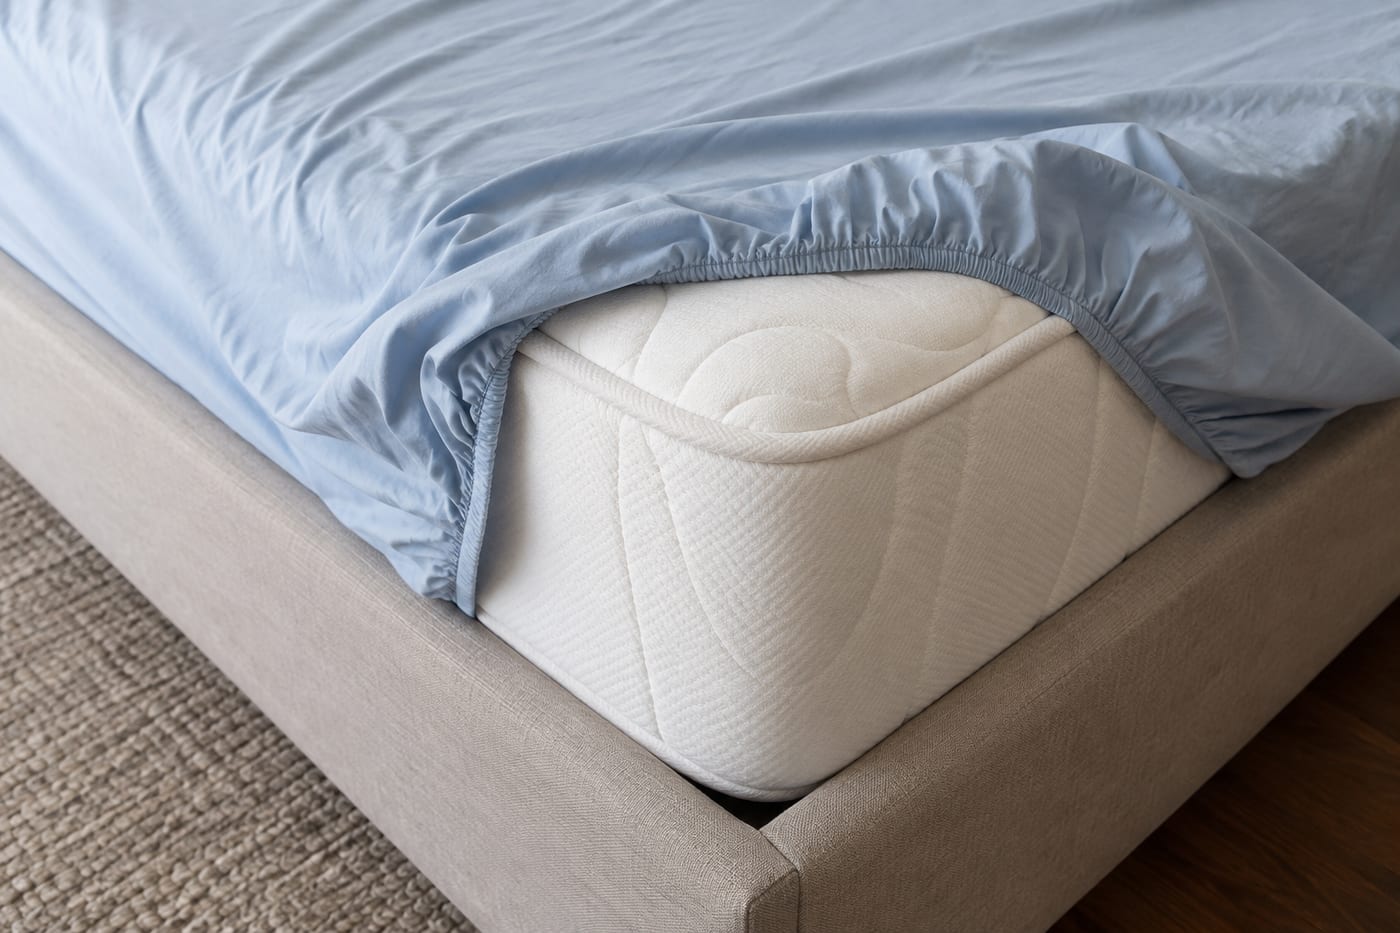
A flat sheet has four edges that can be aligned with one another. A fitted sheet has sewn corner pockets that wrap around a mattress, while its elastic gathers the perimeter. Folding it like a towel leaves those pockets bulky and sends the edges pulling in different directions. The solution is to organise the corners first and fold the remaining fabric afterwards. You do not need to stretch the elastic until the whole item lies flat.
The aim is a stable bundle that is easy to identify and remove from a cupboard, not a rigid rectangle with perfect corners. A thick sheet, a jersey sheet and a deep-pocket sheet can look different after the same method. Begin with one you can comfortably handle and a sufficiently wide surface. Once you recognise the four corners, the same principle works for larger sizes. Speed is irrelevant on the first attempt; a pause to check the pockets is more helpful than a rushed movement.
Prepare a surface and check that the sheet is dry
Use a clear bed, clean table or wide protected surface. It is easier when the sheet is not dragging on the floor, particularly around pets or dust. Remove cushions and other objects so you have space to put the fabric down midway through the process. If you are working on a bed, check that its covering is clean and dry too. No special equipment, measuring tool or elastic-holding clips are needed.
Check complete dryness, including the corners where fabric is doubled and folded. Folding is not a way to finish drying. After using a tumble dryer, remove the sheet as its care directions require and open it before starting, checking that a pillowcase or sock has not become trapped in a pocket. Smooth wrinkles by hand as you work; ironing is not essential for a useful fold. If holding a large sheet becomes tiring, put it down and continue on the surface rather than pulling or shaking forcefully.
For more information on the subject: How to store bedding and blankets between seasons.
Fitted-sheet folding: a checkpoint for each stage
| Stage | Action | Check |
|---|---|---|
| 1 — Identify | Find four corner pockets and select an adjacent pair | Your hand reaches the seam end, not a random fold |
| 2 — First pair | Turn one corner over the other | Both seam ends meet |
| 3 — Second pair | Repeat with the two remaining corners | Fabric between the pairs is not twisted |
| 4 — Four corners | Put one nested pair inside the other | All four corners form one stack |
| 5 — Rectangle | Lay it down and fold elastic edges inward | Outer edges are straight enough to fold |
| 6 — Store | Fold to suit shelf depth or drawer size | One bundle can be removed without opening the others |
Step 1: find the four sewn corners
Spread out the sheet and locate the ends of its four corner seams. These are the anchors for folding. The elastic edge can be heavily gathered, making it easy to grip a fold rather than a true corner. Insert a finger or hand into each pocket and find the seam end; this is clearer than the wavy fabric edge. Look for a marker distinguishing a long side from a short side, but still identify the actual seams.
Choose two adjacent corners along the same edge. Either the long or short edge can be your starting point; what matters is keeping that pair rather than taking diagonal corners. We will call these the first pair and the remaining corners the second pair. If the sheet is too large to spread fully, organise its perimeter while the centre rests loosely on the bed. There is no need to suspend the entire weight in the air to identify which corners belong together.
Step 2: put one adjacent corner inside the other
Hold the selected corners with their inner seam sides facing outward and place a hand inside each pocket. Bring your hands together. Turn one corner over the other, like a cover placed over the pocket underneath, so the seam ends meet. You now have a nested pair, with one corner inside the other. One hand can support both pockets while the connecting fabric folds without forcefully stretching the elastic.
If they do not align, pause and undo the upper corner. Check that the corners were adjacent and that your hand is at the seam end rather than an arbitrary fabric edge. Try again slowly. Do not push the corners together aggressively or force a hand through the elastic. The aim is for one pocket to wrap around the other with their seam ends together. On an early attempt, you can place the finished pair on the surface; it does not have to stay suspended throughout the process.
Step 3: organise the remaining two corners
Follow the perimeter to the two corners still free. Nest them in the same way: seam end against seam end, with one pocket wrapped over the other. On a bed, leave the first pair to one side and arrange the second beside it. Check that you are handling two different corners rather than another layer from the pair already folded. This checkpoint prevents the sheet from twisting into a rope of fabric.
Smooth the edges that connect the two pairs. If the fabric twists around itself, remove that twist before joining the pairs. You need not undo successful nesting; sometimes lifting and rotating one pair is enough to let the connecting side lie naturally. The sheet will not yet be a precise rectangle, which is normal. You are arranging the pockets’ three-dimensional structure before making a bundle, so spare fabric in the centre does not mean that a corner is missing or the method has failed.
Step 4: put one pair of corners inside the other
Bring both pairs together. Insert one pair into the other so all four seam ends align. Think of two envelopes becoming one stack, rather than four corners you need to hold separately. Look at the end of the stack and check for four layers of corner pockets. If a corner remains outside, partly withdraw the upper pair, straighten it and nest it again. This is easier than compensating for an escaping pocket at the final fold.
Arrange the elastic around the stack gently, without stretching it into a straight line. The fabric should now be easier to control because the pockets no longer pull in four directions. Lift the organised end only as far as is comfortable and let the rest spread or rest on the surface. If the fabric seems doubled diagonally, check the pairs: a corner may have been taken from the wrong edge. Correcting that now is simpler than hiding a twist in a small compressed bundle.
Step 5: lay it down and tuck the elastic inward
Lay the sheet on the surface with the nested corners organised at one side. Smooth the main fabric with your hand and turn the curved elastic edges inward. You want reasonably straight outer edges on all sides. The gathered elastic may form an L shape within the fabric; its exact appearance depends on pocket depth and your starting orientation. There is no need to force all the inward edges into a perfectly symmetrical arrangement.
Fold the strip containing the elastic over itself until the gathered edges sit inside the rectangle. Hold the corner stack in place while smoothing so it does not open again. Thick fabric makes a taller edge and a knitted sheet may stretch; use short movements without pulling. If one edge is longer, turn the surplus slightly inward. Once the outside makes a usable rectangle, stop adjusting the elastic and move on to ordinary straight folds, as you would with a flat sheet.
Step 6: fold a rectangle that fits the shelf
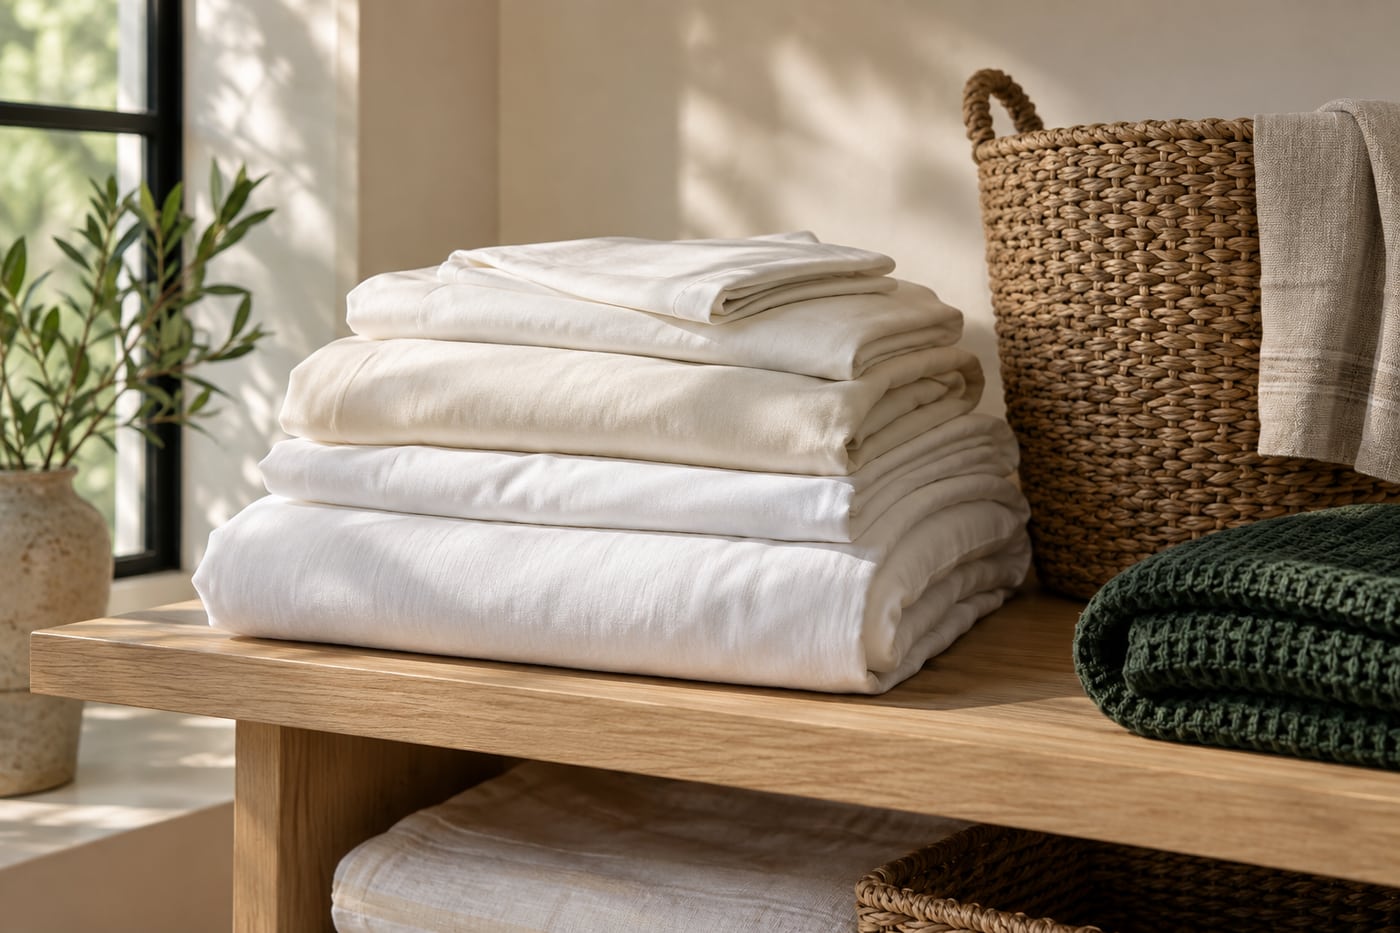
Before making the last folds, look at where the sheet will be stored. A narrow, deep shelf needs a different bundle from a broad drawer. Fold the rectangle lengthwise in half or thirds to suit the fabric and space, then fold the resulting strip across. There is no universally correct number of folds. Each fold adds thickness, so a tiny bundle may be less convenient or less stable than a slightly larger one.
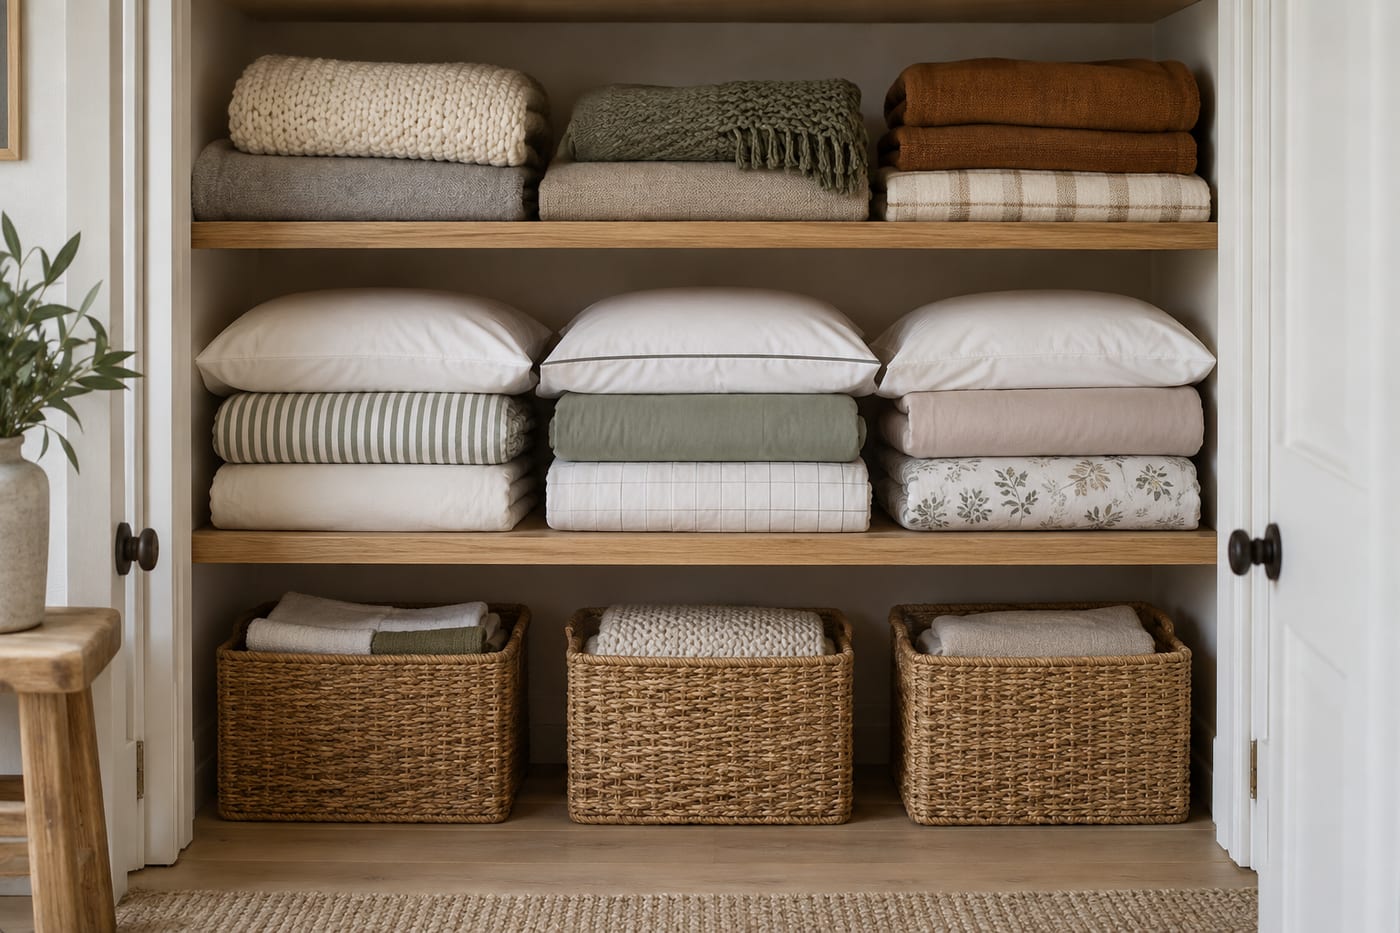
Place it beside another set and check whether you can remove it without pulling everything from the shelf. If it is too large, open only the last fold and adjust it; the four corners do not need to be reorganised. Face the closed edge outward if that makes identification and removal easier. Upright storage in a drawer is another option provided bundles are not compressed or continually falling over. A successful fold is one that makes changing the bed easier, not simply one that photographs well.
Large sheets: use the bed or work together
A large sheet needs more support rather than a new method. Spread it on a clean bed and organise the corner pairs with the main fabric resting there. Lift only the pockets you need to join. If two people are working together, one can support the central fabric while the other nests the corners. Agree which adjacent corners make the first pair so that you do not pull diagonally and undo the arrangement.
There is no need to hold your arms high or keep the sheet stretched between you. Keep the pockets close to the surface and put the fabric down whenever it becomes heavy. This adaptation also helps with deep-pocket sheets and thicker fabrics. In a small room, arrange only the edges and pockets initially, leaving the centre loosely gathered on the bed. After all four corners are nested, the final spreading stage is smaller and easier to manage. Working on a surface is a complete folding method, with no requirement for a less organised result.
What if the folded sheet is crooked or bulky?
If one corner sticks out, check that all four pockets are in the same stack. If the fabric twists, check that you did not join diagonal corners or rotate a pair before joining. If one end is unusually tall, pocket fabric may have gathered there; smooth it before the final fold. Inspect the structure before adding another fold, because that extra fold can hide the problem and create a lump that is difficult to stack.
A sheet with elastic around the full perimeter may retain slightly rounded edges, which is normal. A deep pocket contains more fabric to turn inward. Do not change the sheet size simply to make folding easier: its dimensions must match the mattress and height. If the elastic is still strained when the sheet is loosely folded, open the bundle a little. Folding should organise fabric, not keep prolonged tension on the elastic or corner stitching.
Storing a complete set inside a pillowcase
You can fold the fitted sheet, duvet cover and other pillowcases and place them inside one pillowcase from the set. This keeps components together, but does not suit every combination of sizes and fabrics. Check for sufficient room without compressing the bundle or pulling on the opening. A particularly thick set may work better in a basket or on a labelled shelf. Never add a damp-feeling item to a bundle of dry bedding.
Fold the components to a similar width and mark the fitted-sheet size if there are several beds at home. Keep the original product label attached; the external marker only makes the set easier to find. If sheets and covers are used independently, organise them by bed or fitted-sheet size rather than colour alone. On changeover day, you can notice a missing component without opening multiple bundles. The bedding storage guide offers further ideas for smaller cupboards, which can be combined to suit your available space and routine.
Folding, wrinkles and ironing: what is necessary?
An orderly fold helps organise bedding, but does not replace fabric care instructions. If you want to iron, check the sheet’s label, permitted heat and any restrictions on particular parts. There is no need to iron the elastic pockets to store a fitted sheet usefully. Slight wrinkles can remain after a neat fold, particularly in natural fabrics, and do not mean you performed the method incorrectly. A tidy cupboard does not require every fabric to have the same finish.
Smooth the material by hand while shaping the rectangle and avoid excessively compressed final folds. If you prefer a smooth appearance on the bed, focus on the approved drying routine and how the sheet is fitted to the mattress. Do not spray fragrance or water merely to maintain a cupboard bundle without checking compatibility with the fabric. Storage always begins with a dry item. If the objective is to save room, changing fold width may help more than an additional ironing stage that is unnecessary for use.
Practise once and simplify future bedding changes
Choose one sheet and practise just the first pair of adjacent corners. Open and nest them again until you can recognise how one pocket wraps around another. Then add the second pair and join both pairs. This lets you learn the movement without confusing it with the final shelf folds. Use Martha Stewart’s demonstration video and pause after each corner join, rather than trying to reproduce the whole sequence at the presenter’s speed.
Once the method is familiar, choose a useful bundle width for each shelf and organise storage by bed or size. Different fabrics need not have exactly the same number of folds. If one sheet continually comes off the mattress, folding will not solve its fit: check length, width, pocket depth and elastic condition in the slipping fitted sheet guide. The aim is a straightforward bedding routine: an item that fits, care according to its label and a bundle that is easy to find. Consistent movements are enough to make folding a clear, manageable task.
Fitted-sheet folding sequence

- Nest matching corners
- Lay flat and form a rectangle
- Fold and store dry
Video: folding a fitted sheet
Martha Stewart demonstrates folding a fitted sheet by nesting its corners and laying it on a surface. The video complements the article’s practical steps.
By Martha Stewart · Video language: English
The player loads only after a click, subject to your external-content preferences. Player privacy information.
The article can be read without watching. Captions depend on the options available on YouTube; the explanation is not a transcript.
Frequently asked questions
How do I fold a sheet with elastic all around?
Nest the four corner pockets in the same way, then arrange the elastic edges inward on the surface. Slightly rounded final edges are normal.
Must I turn the entire sheet inside out?
What matters is that the corner pockets wrap around one another and their seam ends meet. You can begin with inner seams facing outward and turn one pocket over another without stretching the whole sheet.
Why does my sheet become a ball?
Usually the corners were not organised together before folding, or the gathered elastic stayed outside. Return to the four-corner stack and the rectangle stage.
How can I fold a large sheet alone?
Use a bed or table to support most of the fabric. Nest each pair on the surface and lift only the corners you need to join.
How many folds are required?
There is no fixed number. After making a rectangle, choose halves or thirds and adjust the bundle to the shelf and fabric.
Can I store the whole set in a pillowcase?
Yes, if all items are dry and fit without compression. A basket or labelled shelf may suit a large or thick set better.
Should I iron before folding?
No. A useful fold does not require ironing. If you choose to iron, follow the fabric label and restrictions relating to elastic components.
Does neat folding stop a sheet coming off the bed?
No. Fit depends on the dimensions, pocket depth and elastic condition. Folding is for storage; check mattress compatibility separately.
Sources and scope
Sources checked on 10 October 2026. Manufacturer sources describe their own products and instructions; they do not establish one care rule for all bedding and mattresses.
- Martha Stewart: fitted sheet demonstration
Official English-language video showing corner nesting and formation of a rectangle.
- The Martha Blog: how to fold a fitted sheet
Visual demonstration from the original instructional source; our guide adds surface-working and cupboard adaptations.
- DreamFit: folding a fitted sheet
A bedding manufacturer’s reference to the corner demonstration; does not replace a sheet’s care label.
By MyViro.
The content explains textile characteristics and is not the result of a product test in a laboratory. How we prepare our guides